When I first tell people that I teach programming and allow my elementary students to pilot drones in our library, they generally give me that look of confusion. The same one you might get when you envision a chimpanzee driving a car; you bet they could do it, but you sure wouldn’t want to be on the road while it is happening.
In our makerspace, The IDEA Lab, we of course have safety as our first priority. To this end, we wanted to create a space where students, especially students who are just getting started with drones, could fly safely and not hurt themselves, others, or even the drones.
We got the idea for a drone cage from a Twitter post from the company Skill Share. They had developed a fantastic program in the UK in which they bring a drone cage into primary classrooms and teach kids to code and fly. This unlocked the idea of how to make drone safety a reality for me. The interesting thing about their cage design was that it could fit in traditional classrooms, not just large assembly areas. We wrote to the company asking if they would be willing to build me one. They were incredibly gracious and came up with a kit that they would sell us, but when we took into account the cost of shipping, it was not feasible.
Set up and ready to start coding drones with @MarchesSchool @HarperAdamsUni with @Higher_Horizons for their uni taster day pic.twitter.com/wGRS8z1B6b
— Skill Supply (@skillsupplyuk) January 22, 2018
So we explored other options.
Trapezoid Drone Containment Cage https://t.co/BKEhDYnD3l — Todd (@todd_burleson) February 21, 2018
Wheelaway Drone Containment Cage https://t.co/yJAeYf7Dhc
— Todd (@todd_burleson) February 21, 2018
While we are sure these two kits would have done the job, not many makerspaces have this kind of money in their budget, or for that matter this much space! We decided that we would find a way to make one ourselves. We started with the frame. We knew we would make the structure out of PVC because it is cheap and readily available. It didn’t have to have very thick or sturdy ‘poles.’ All it would be holding was some light netting. The individual PVC tubes are fairly inexpensive. When you start adding two, three and four-way connectors, the cost begins to creep up quickly. We knew that the cage also had to be easy to break down and store. Lastly, while our space has 20′ ceilings, if our colleagues at other schools ever wanted to borrow it it would need to be able to fit in a space with 8-9′ ceilings. After estimating the cost of purchasing the PVC and connectors, we decided that there had to be a simpler and hopefully cheaper solution. In our research, we came across an image of students playing a game that reminded us of the playground game four square, but there were more than four ‘squares,’ and the game seemed to be played in the air. A bit more digging lead us to a physical education game called ‘Nine Square in the Air.’ Soon we found them on Twitter:
Students are excited about our new @9squareintheair game!!!@CTMSWolfWay @GCISD_PE pic.twitter.com/P7oJsPhohq — Billy Krause (@billyho1919) April 12, 2017
We thought, “This would be perfect!” Bonus, if we used this as the base for our drone cage, our gym teachers could use it indoors or out for a fun extension to volleyball and four square. After checking that our colleagues in the gym would be interested we decided to order the deluxe kit from Paolos Sports. The deluxe kit ($799) includes everything you need to make an 18′ by 18′ square flying area and comes packaged in extremely sturdy storage bags.
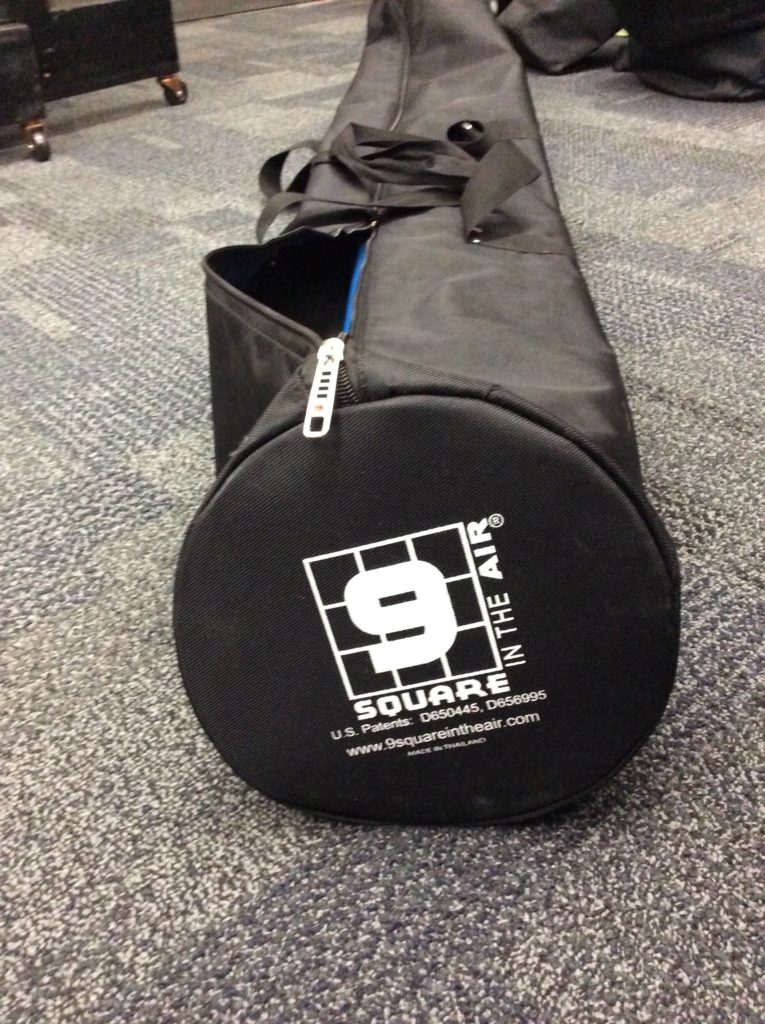
The high quality storage bags that the long poles are packaged.
Palos Sports does offer a kit that is half the price. It includes all the powder coated steel connectors and you just need to cut the poles from PVC pipe. We chose not to go this route.
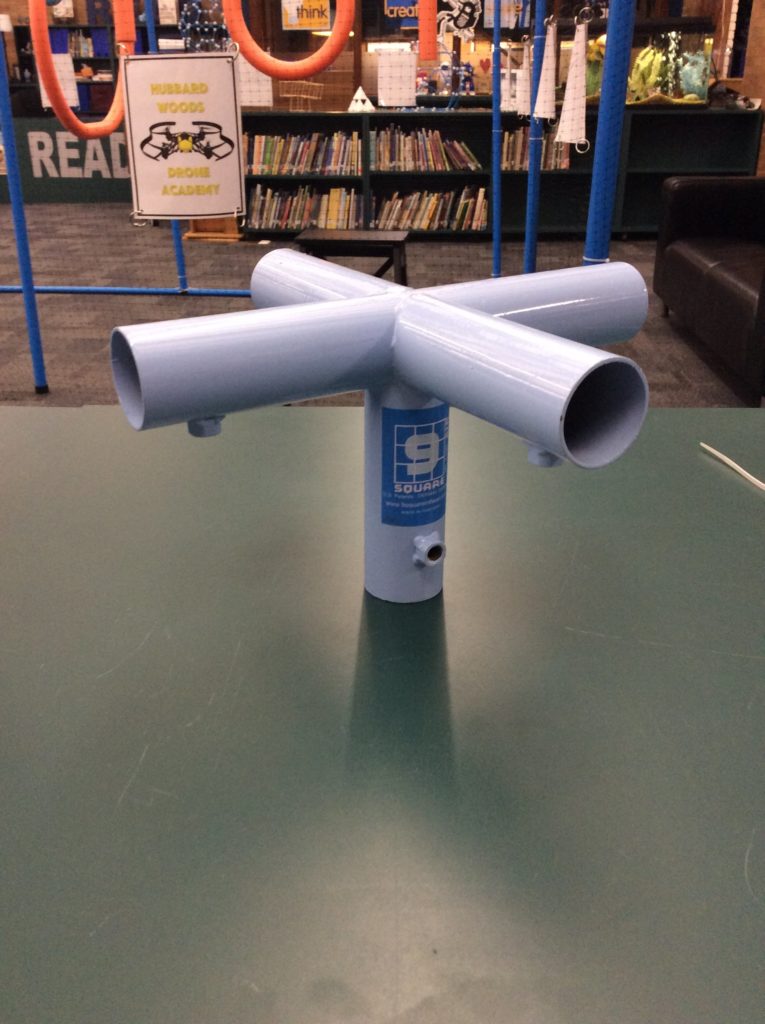
The powder coated steel connectors are incredibly high quality.
Next we had to figure out how to cover the drone cage in a netting that would stop the drone from flying out of the area but not break the bank. We explored a wide variety of mesh netting from the styles used in golfing ranges to batting cages. In the end, we discovered that for $25 we could get 100′ of 7′ tall deer fencing that would work perfectly for our set up.
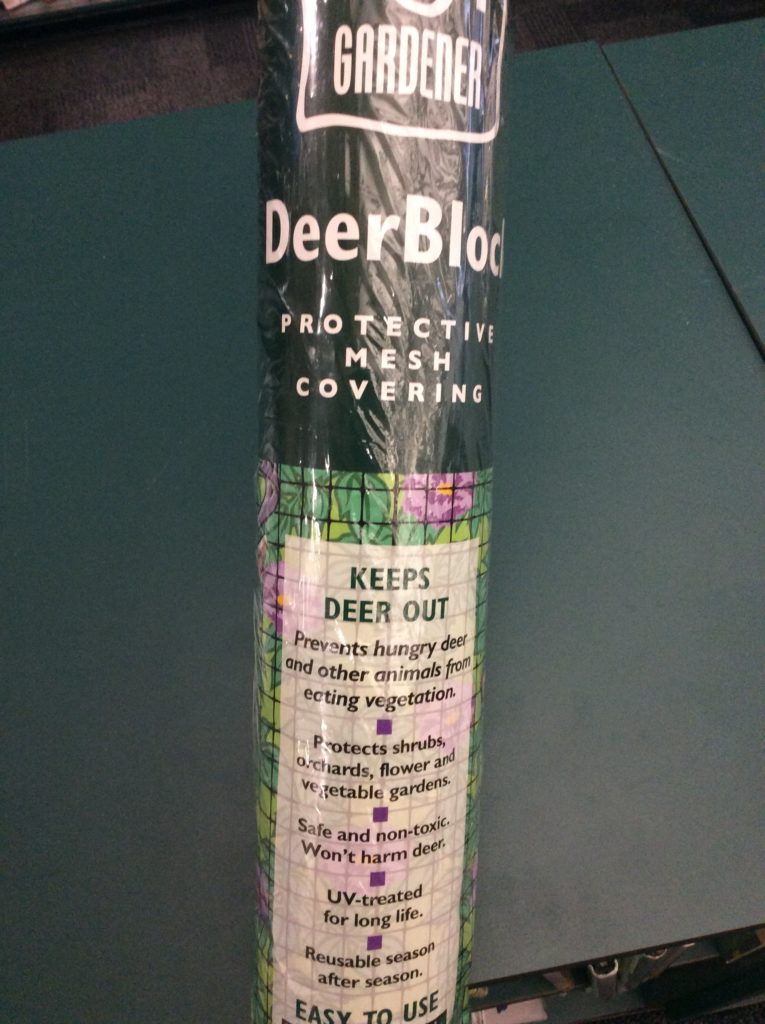
Deer netting is an easy to use/cost effective alternative.
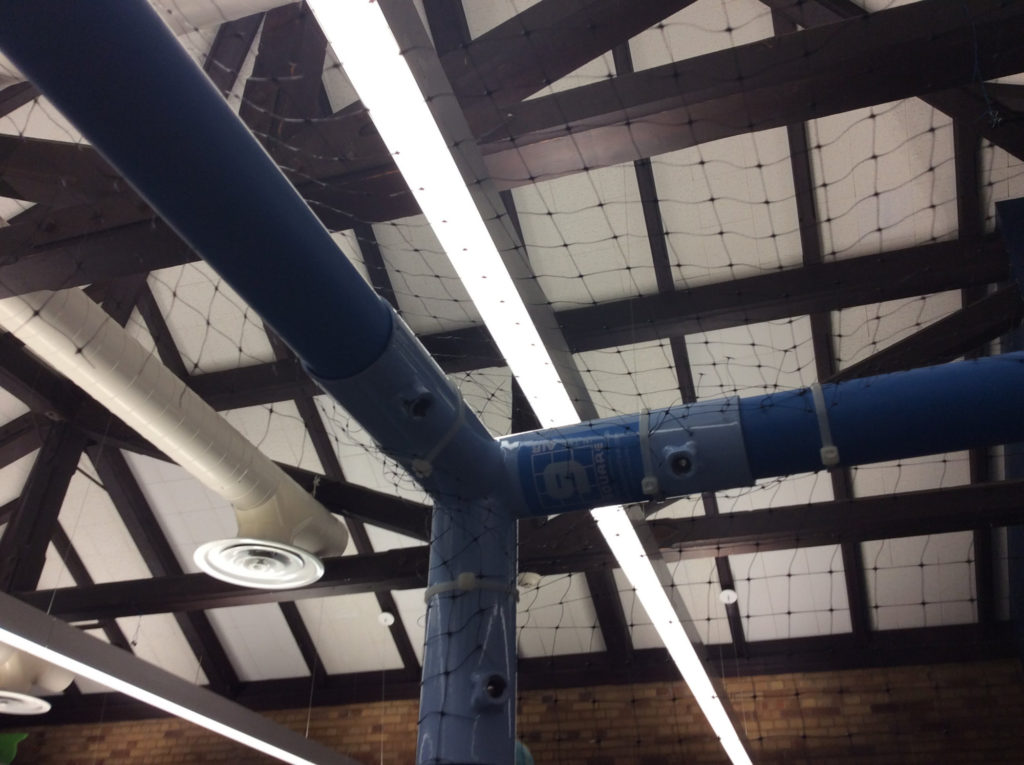
The flexible netting is easily attached to the frame with zip ties.
In about an hour we were able to anchor netting to the entire cage.
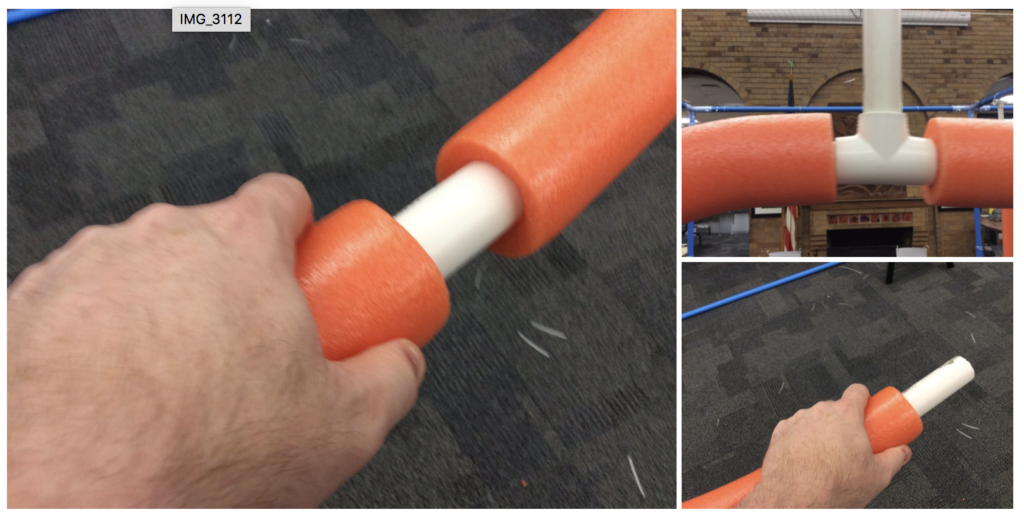
A few PVC connectors and pool noodles later, some simple obstacles were created and hung from the tubes.
Now that the cage is up, it’s time to start flying!
DIY Drone Cage on the Cheap How To Video.@ParrotEducation @gotynker #we36 #hwspride pic.twitter.com/RnTtLGHK4f — Todd (@todd_burleson) February 22, 2018


